Here we can get a brief understanding of the practical demo of Blazor. How can we get started with Blazor and which SDK, packages, and extension are required to install
Blazor tools and support
As we know that Blazor is developed by Microsoft so when Blazor was introduced at that time it’s an experimental framework for .Net single page application. which is run on the browser. Microsoft is committed to mold as a supported web UI framework. The Blazor is supported on Linux, Mac OS, and Windows, and it is introduced by Microsoft as a feature of Asp.Net the company’s flagship for web development. Asp.Net Core pipeline has included the Blazor into them official rollout
Now, we follow the given step to setup the Blazor project.
Step 1.
First, of all, we need to Install the latest Blazor extension from the Visual Studio Marketplace. By this step, the Blazor templates are available to Visual Studio.
(https://marketplace.visualstudio.com/items?itemName=aspnet.blazor)

After installing the Blazor Extention checked the following list is installed.
1. Check the latest .NET Core 3.0 Preview 4 SDK (3.0.100-preview4-011223) is installed
2. Visual Studio 2019 (Preview 4 or later) with the ASP.NET and web development workload selected.
Step 2.
By following the guidelines we can Add our choosing tools.
1. Create a new project.
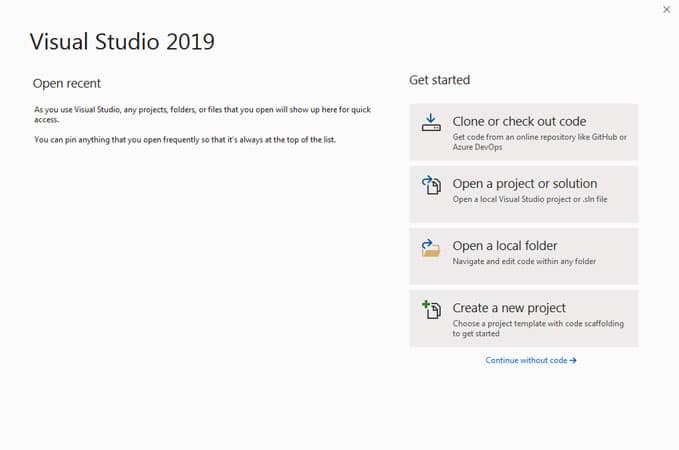
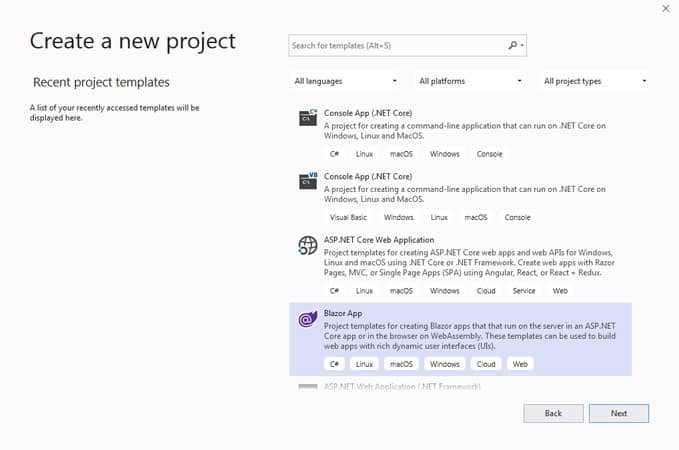
2. Select Blazor App. Then click on Next.
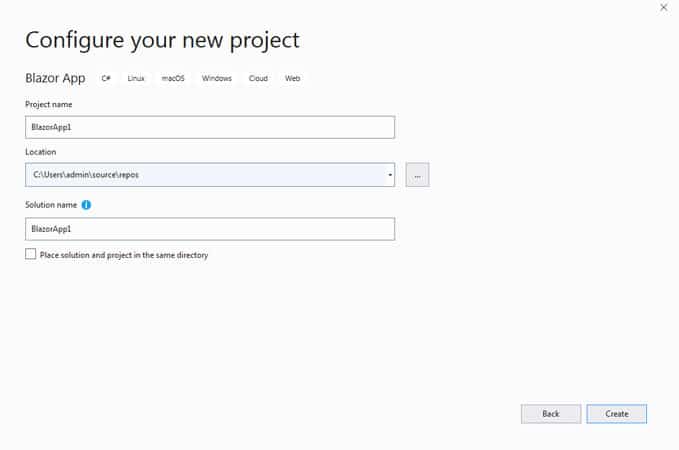
3. Give a suitable project name in the Project name field or you can accept the default project name. Make sure that the Location entry is correct or provide a location for the project. Select Create.
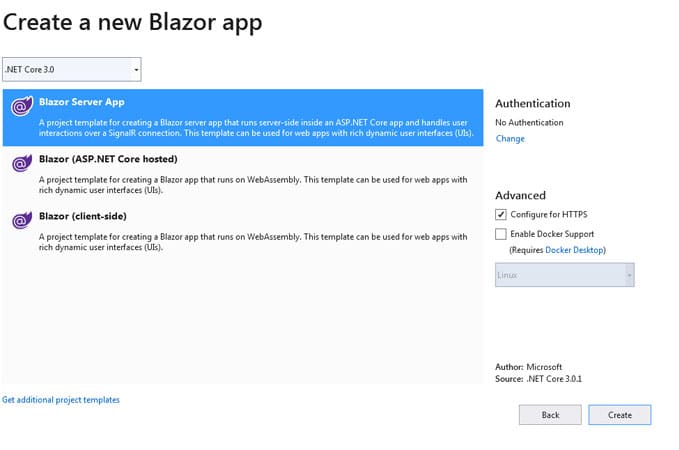
4. Select Blazor Server App and Select Create.
5. Press Ctrl+F5 to run the app.
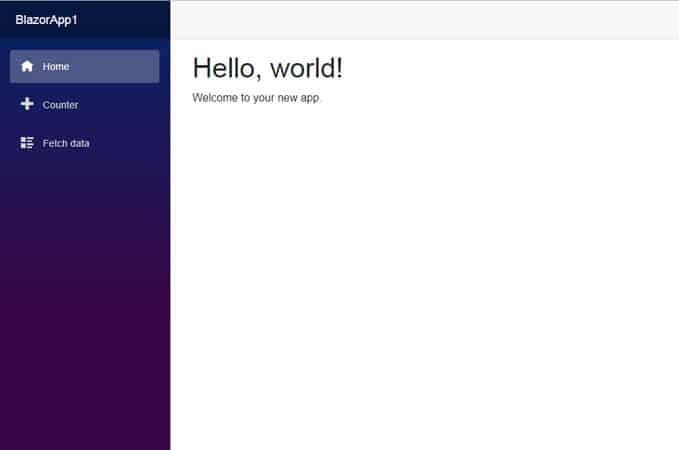
Here We can see the application Home Page
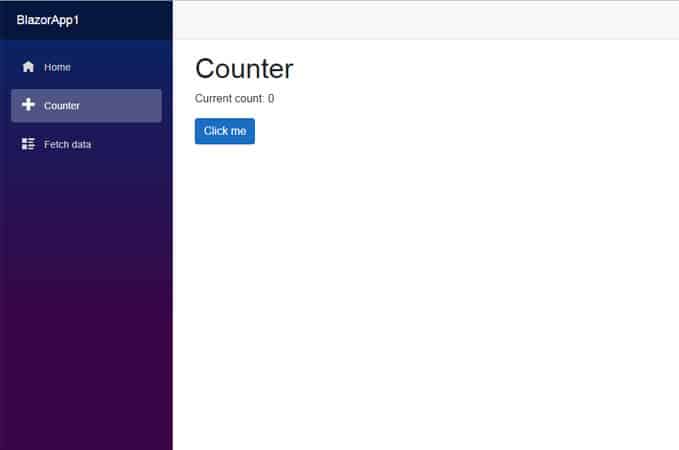
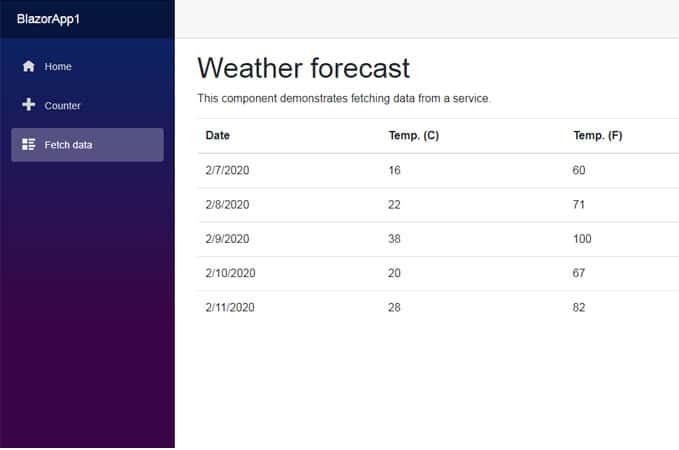
We can also navigate to the other two menu items, Counter and Fetch data :-
 Blazor
 Angular
 ASP.NET Core
 NodeJS
 React Native


 60+
60+
